Guide: Storing and Managing Translations in Airtable with Polydata
1. Open Polydata and Enable Airtable Integration
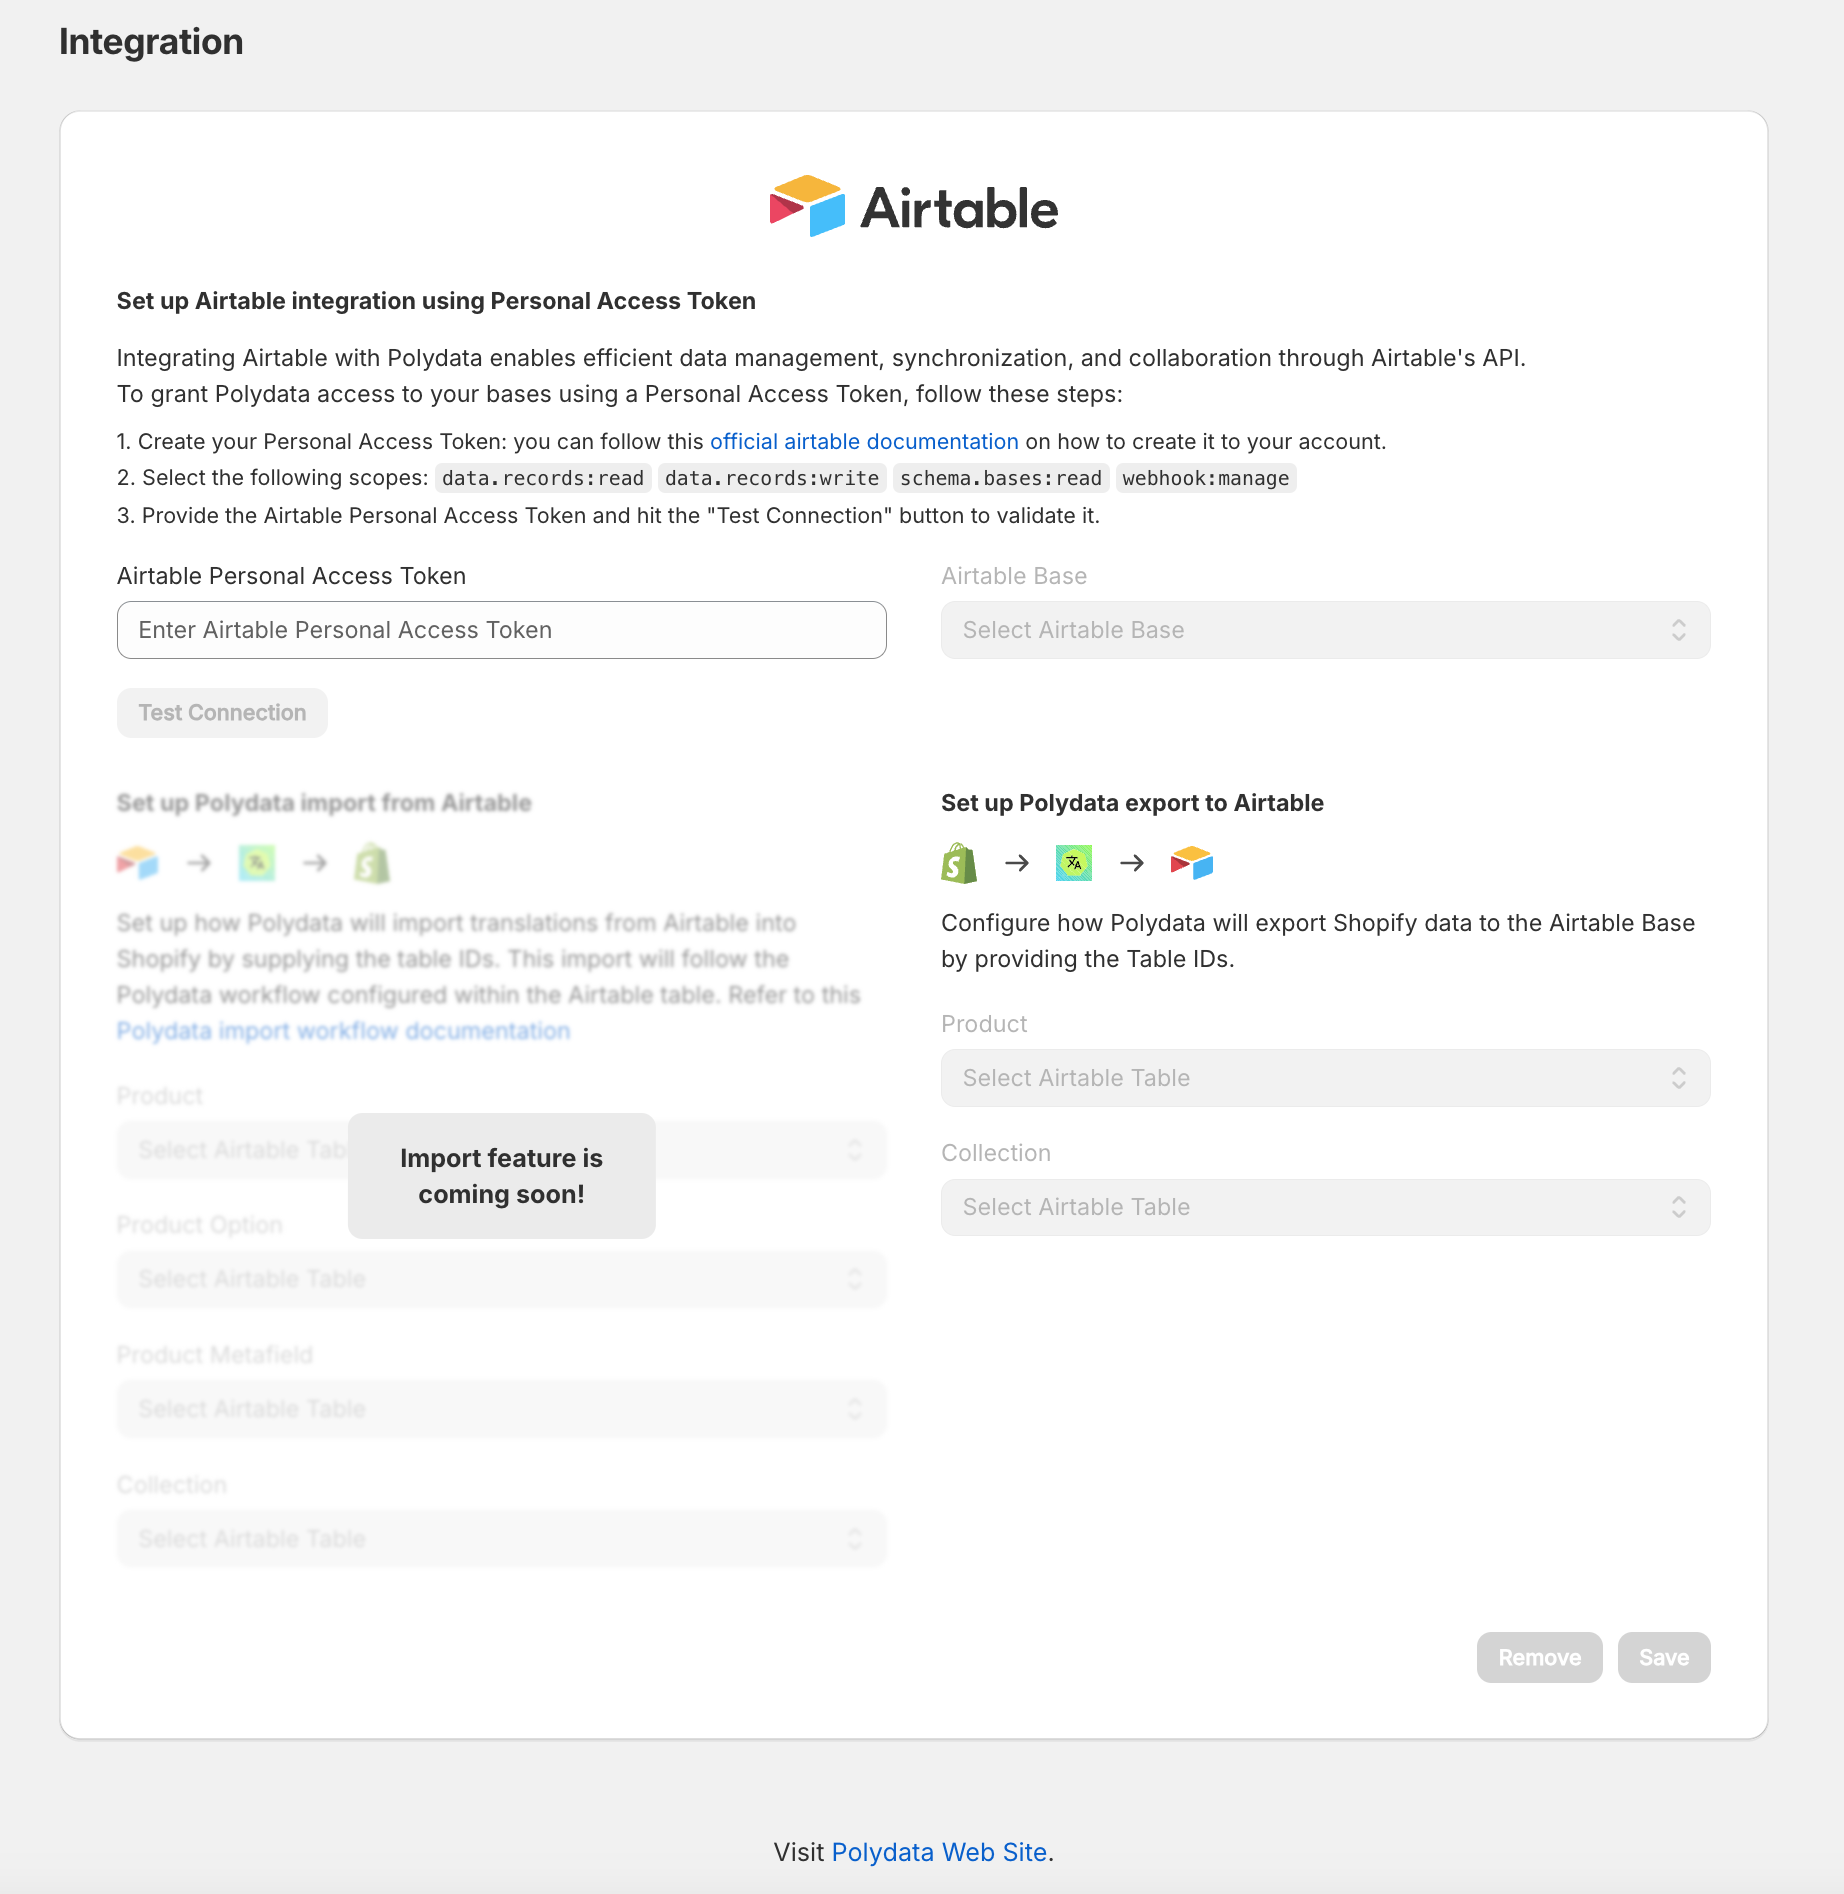
2. Go to Polydata and click on Integrations.
Follow the steps to connect Airtable to your Polydata account.

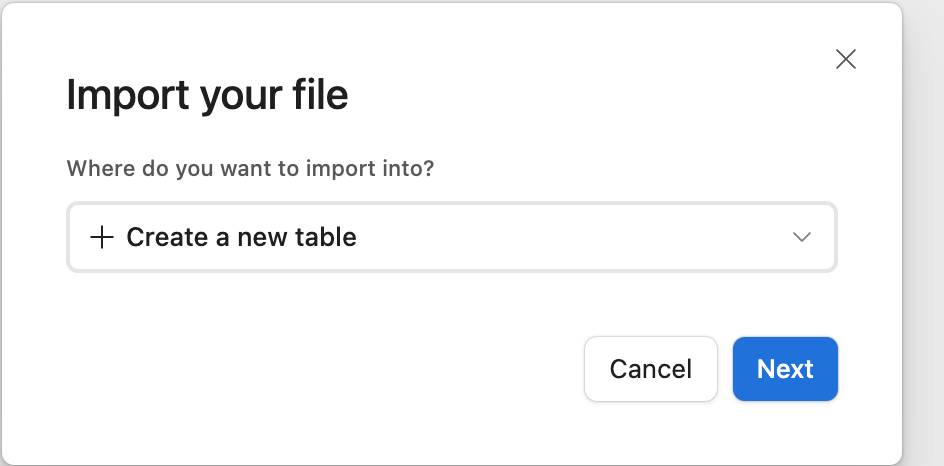
3. You may need to create a new base first. If you already have one. Create a new table and import based on csv.
Download here: PRODUCT CSV
Download here: Collection CSV
When importing, make sure to create a new table.

The table needs to be configured properly, so that all the fields are text fields, even the Shopify ID

Note: Make sure to rename the grid view, to View all. And on top of that, also rename the table to something more recongnizable. Like Polydata Product Export.
Repeat, for the collection CSV
4. Create new table
5. Import CSV
Adjust columns to text fields.

Rename table name > Polydata Collection Export
Rename Grid View > View All
6. Set up Airtable integration using Personal Access Token
On the right top, click on the user.
Then open Builder Hub
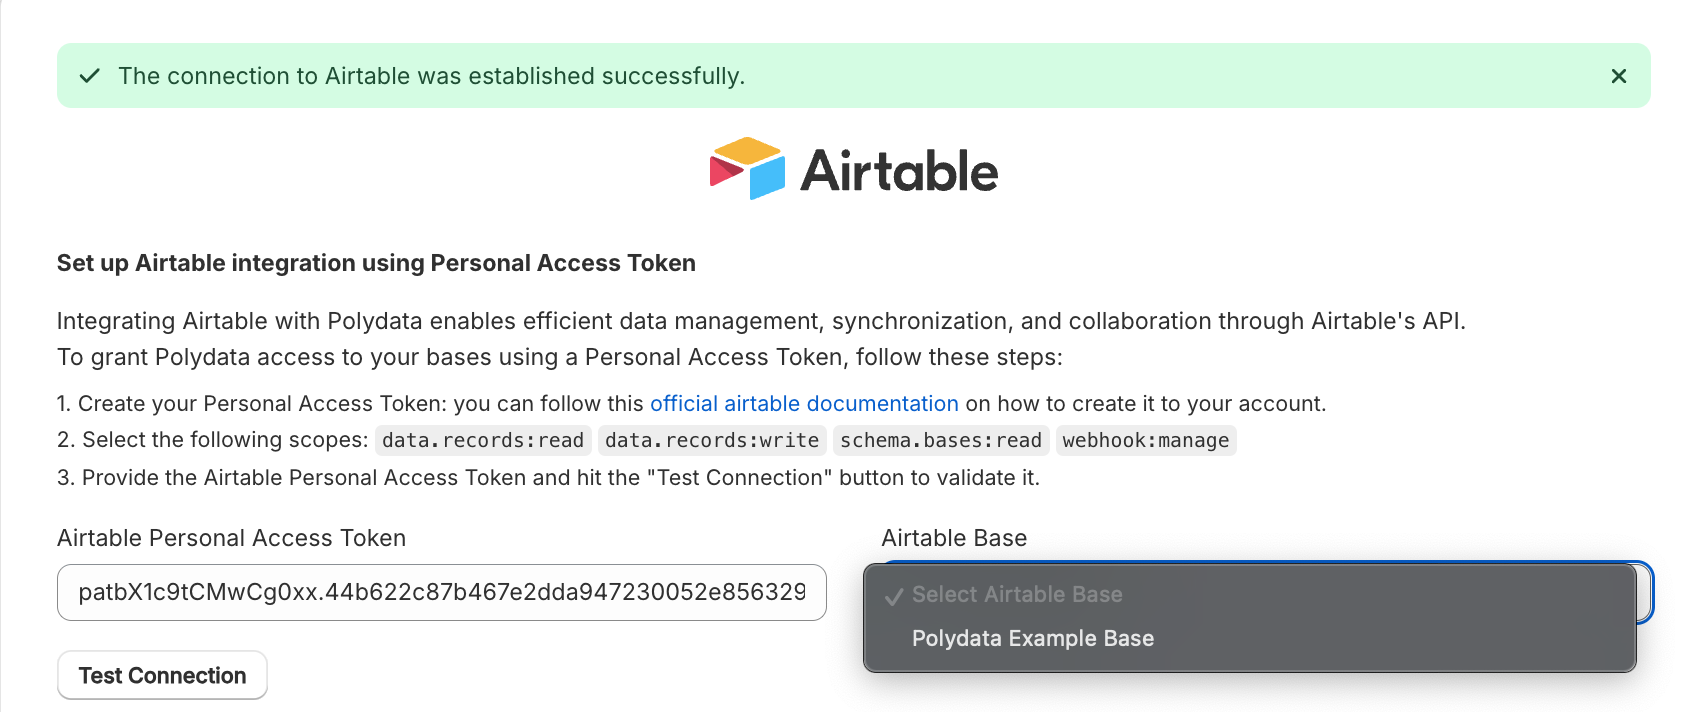
7. Create a new access token.

Paste this code into the access token field.
You will now see the base you have granted access.

8. Next, setup your table columns:

Great! You can now export data To Airtable.
Export to Airtable.
Go to export.
Then select your resource and in Export as you will see Airtable.
Also select the Locale. Its only possible to export 1 locale at a time.
After exporting, it will push the data to the known table in Airtable.
Your base is now ready to use and modify it with extra fields such as product metafields.
The metafields will require the right column name following the namespace.key setup.
%20-%20Black%20font.svg)